Build Guide: Seed Planter
What You’ll Need:
Click on the buttons below to collect the print files!
Step 1:
Step 2:
Step 3:
Step 4:
Step 5:
Step 6:
Step 7:
Complete
Servo Calibration
Before attaching a servo horn to a servo, we need to make sure that the servo moves in the correct range. This guide will help you calibrate your servos correctly.
Step 6:
Once step 6 is completed, plug the servo into the left port and run the following code:
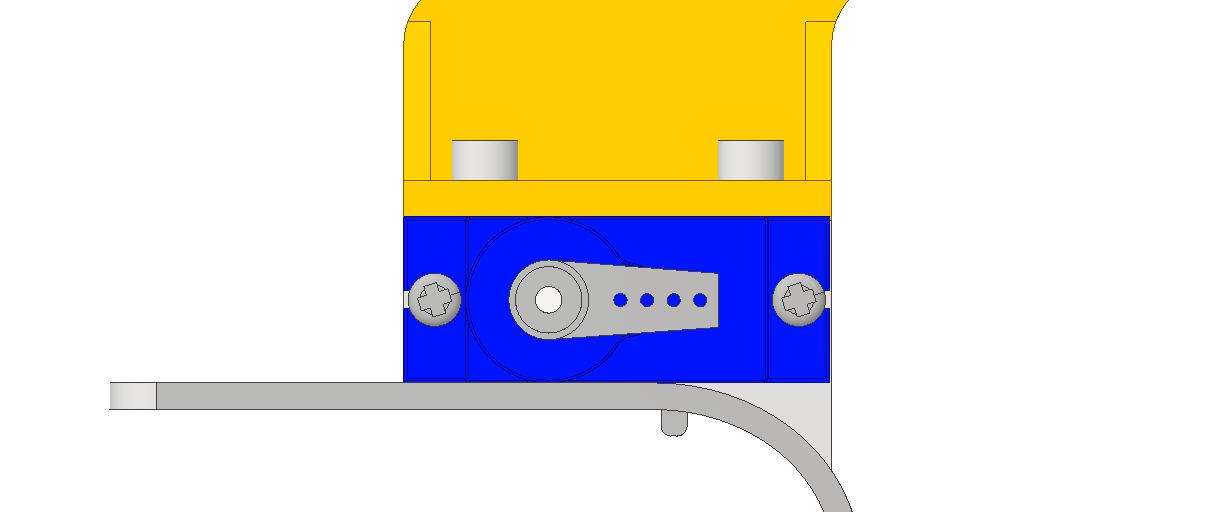
Upload the code and attach the servo horn to the servo so it’s in this position when the servo is at 0.
What’s Next?
With your fully built Micromelon Seed Planter attachment, head on over to our Seed Planter activity to get started!


