Getting Started With The Robot Simulator
The Micromelon Robot Simulator is a virtual environment filled with activities you can complete without needing a physical Rover. There are a large range of simulated activities with varying complexity. Completing them all will require the use of all available sensors and advanced coding techniques.
What You Need To Get Started
The Simulator
To start, you will need to download and install the simulator. The Robot Simulator is available for download from the Windows Store and Apple App Store.
The Simulator Licence
Some of the activities in the Robot Simulator require a simulator licence to use. A Robot Simulator licence is attached to the same Micromelon accounts used in the Code Editor. Without logging into the simulator, you will be limited to activities that do not require a simulator licence. We’ll cover logging into the Simulator in the next section.
New accounts have access to the Micromelon Simulator for 30 days. If you want to continue using all of its virtual challenges, contact Micromelon for sales.
The Code Editor
The robot simulator is a virtual recreation of a Micromelon rover. Just as you would need the code editor to control the Micromelon rover; you also need the code editor to control the robot simulator. The code editor is our block & python based coding environment. You can download the code editor for free from the download buttons below. By downloading this software you are agreeing to the terms and conditions.
Selecting A Simulator Activity
When you first open the Robot Simulator, you’ll see a list of all the available activities on the left. Scroll through the list and find an activity that you would like to try.
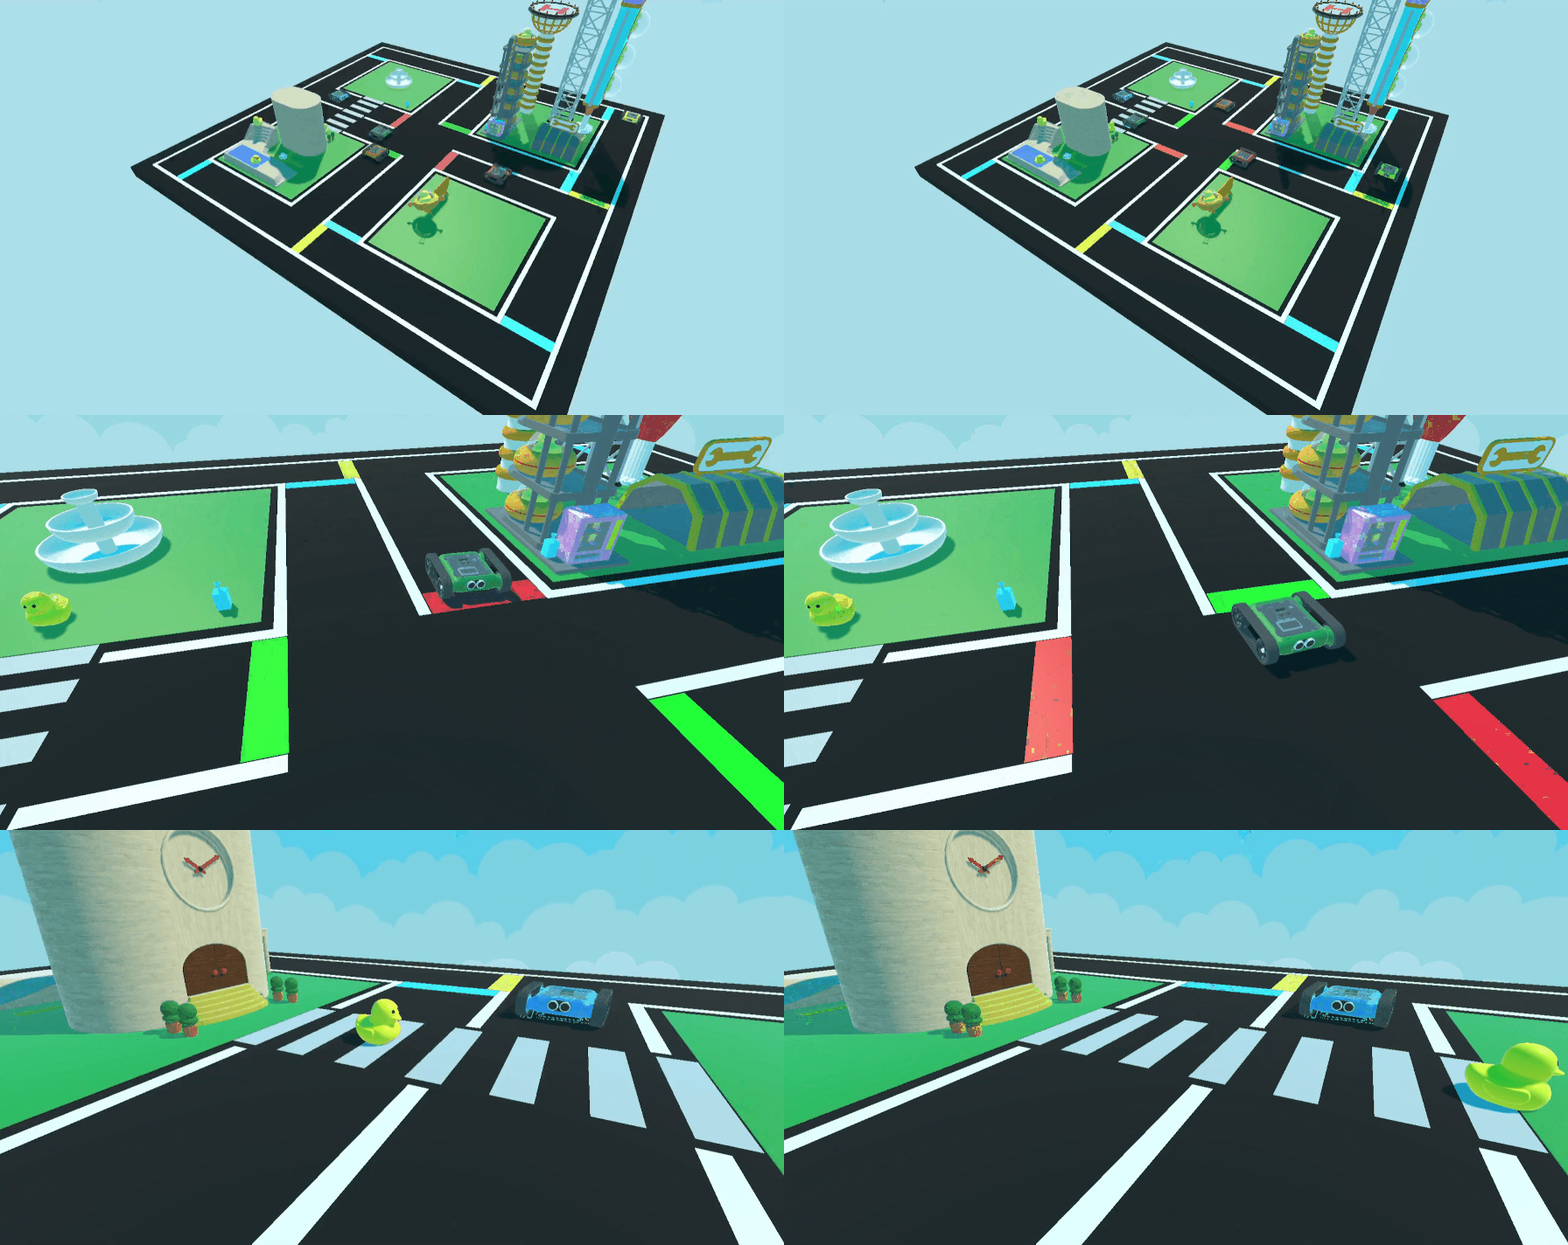
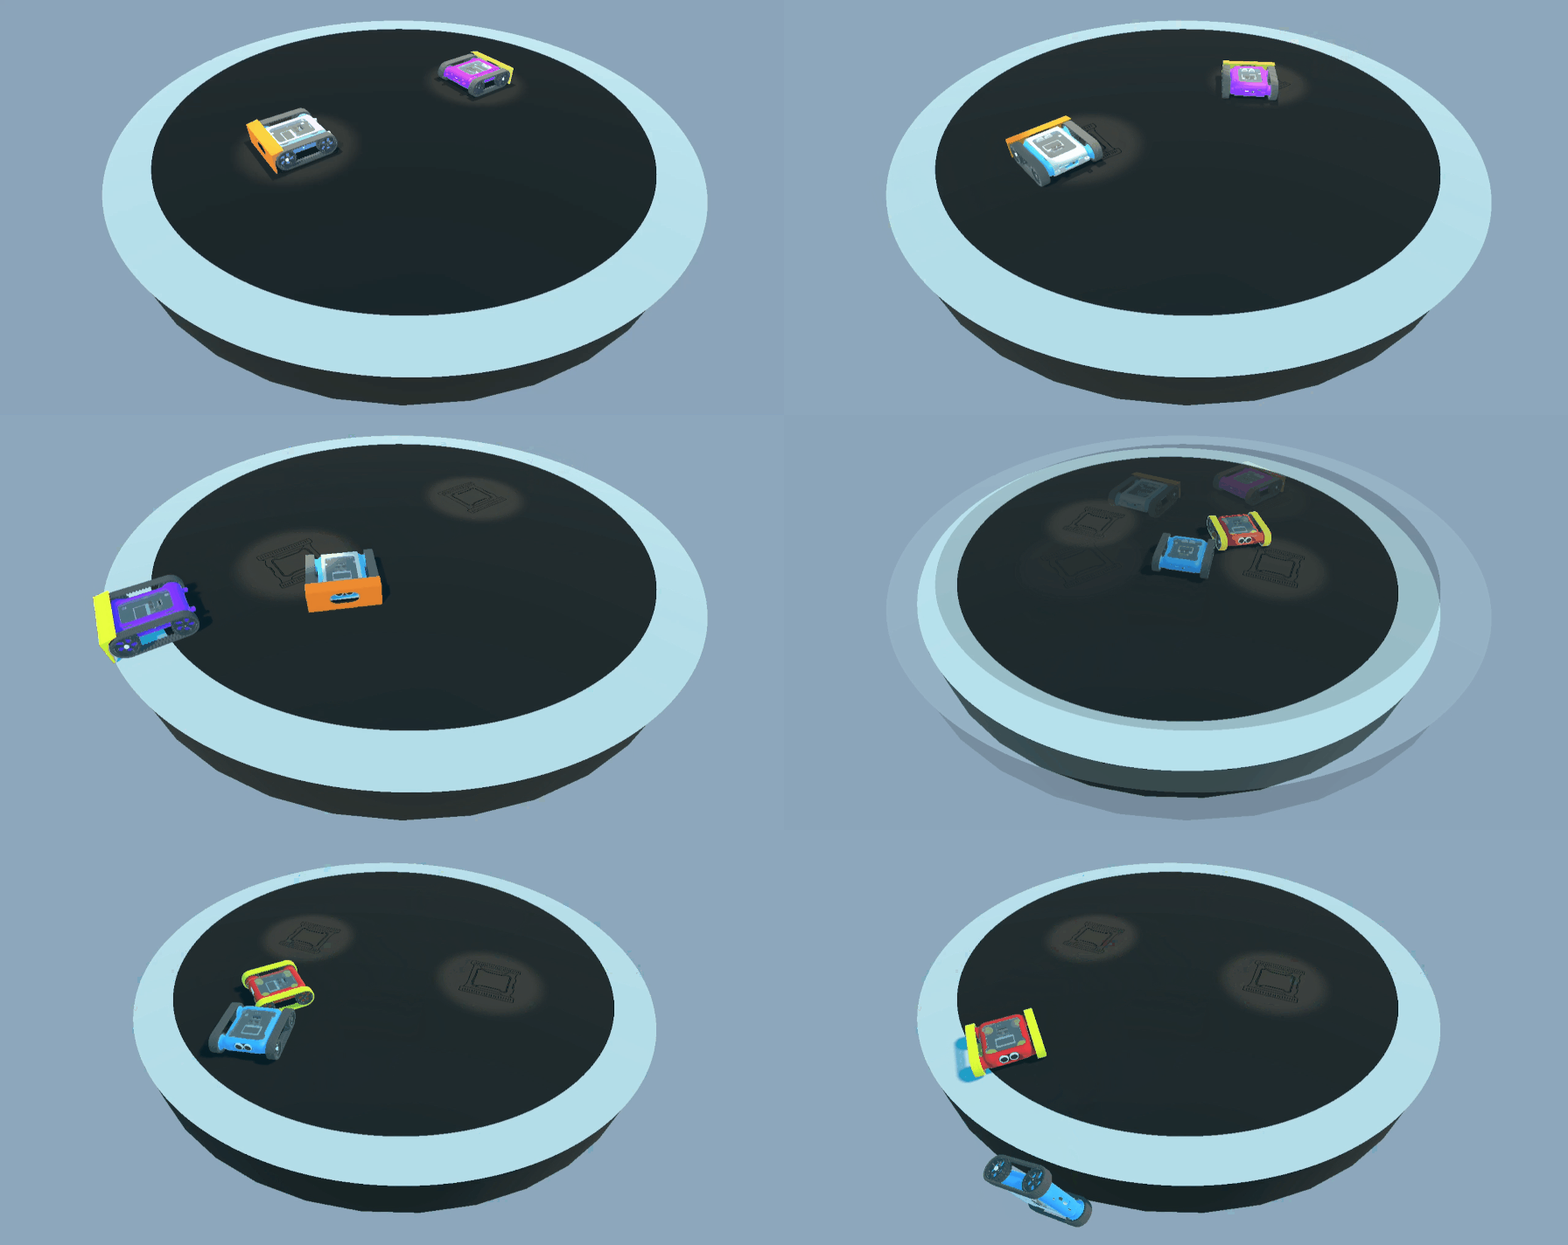
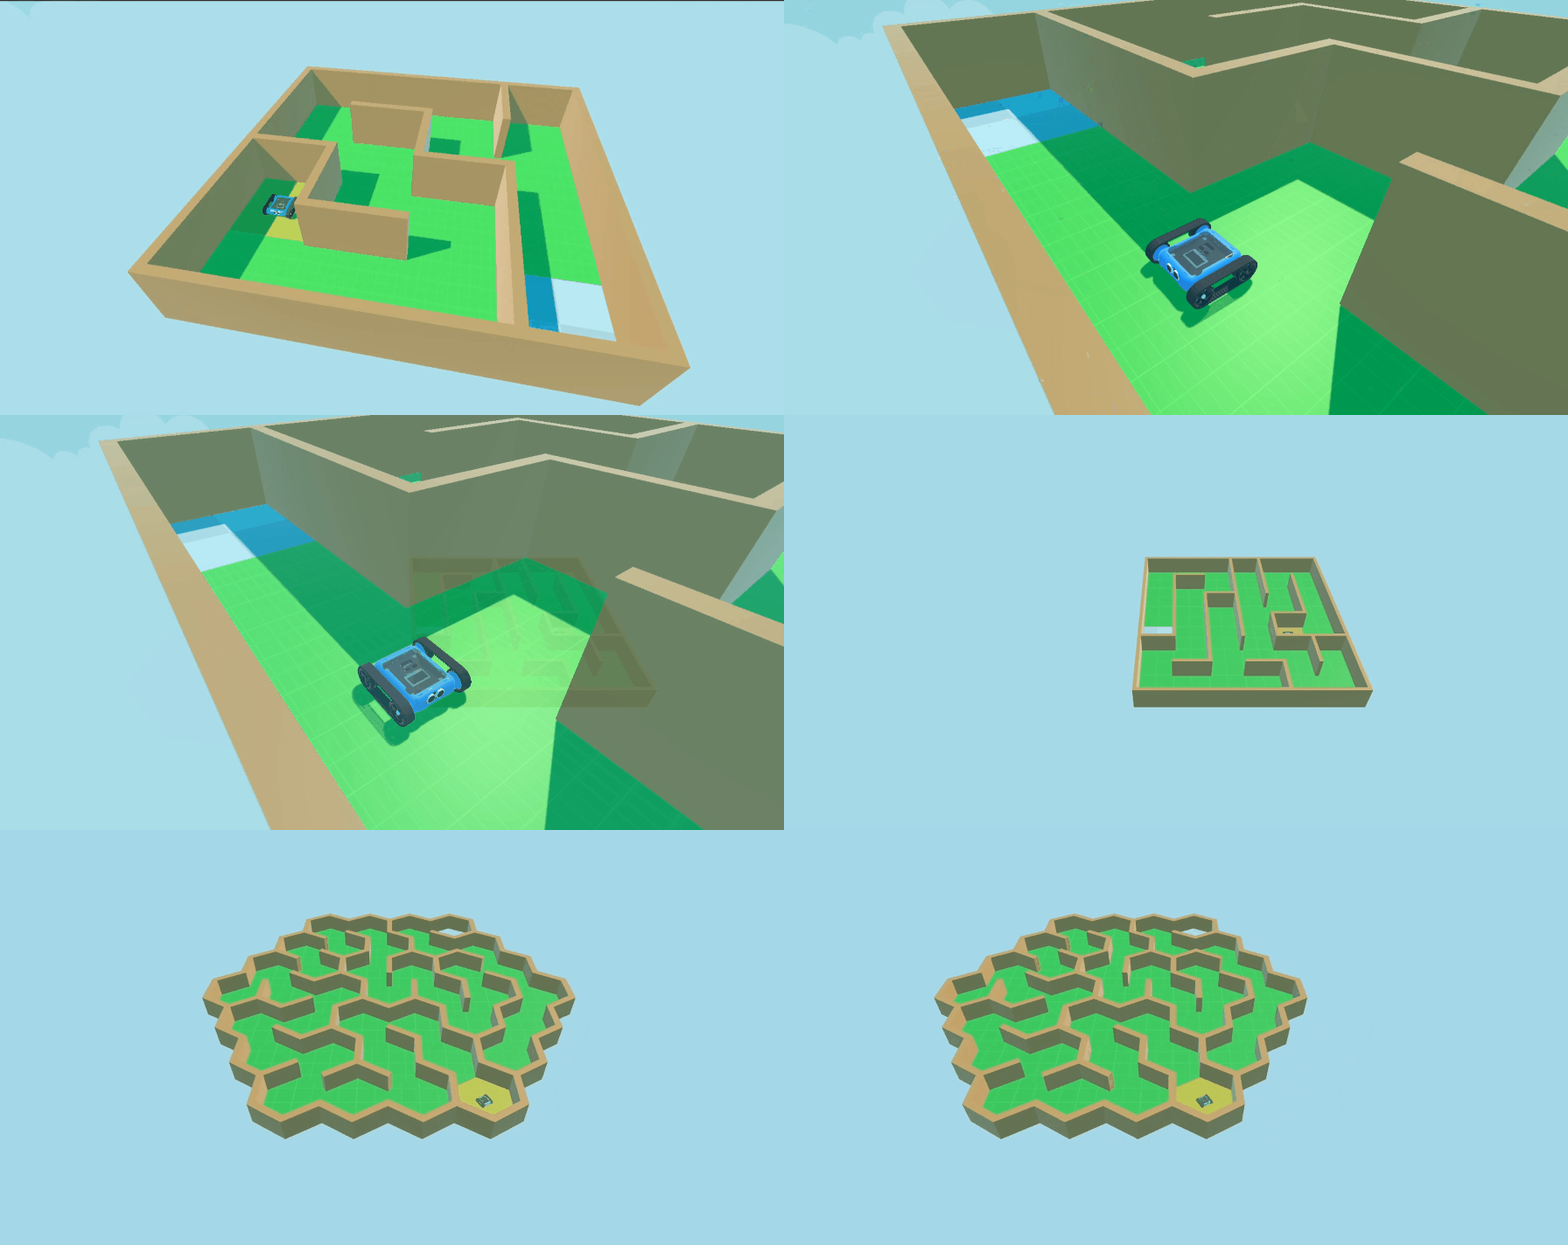
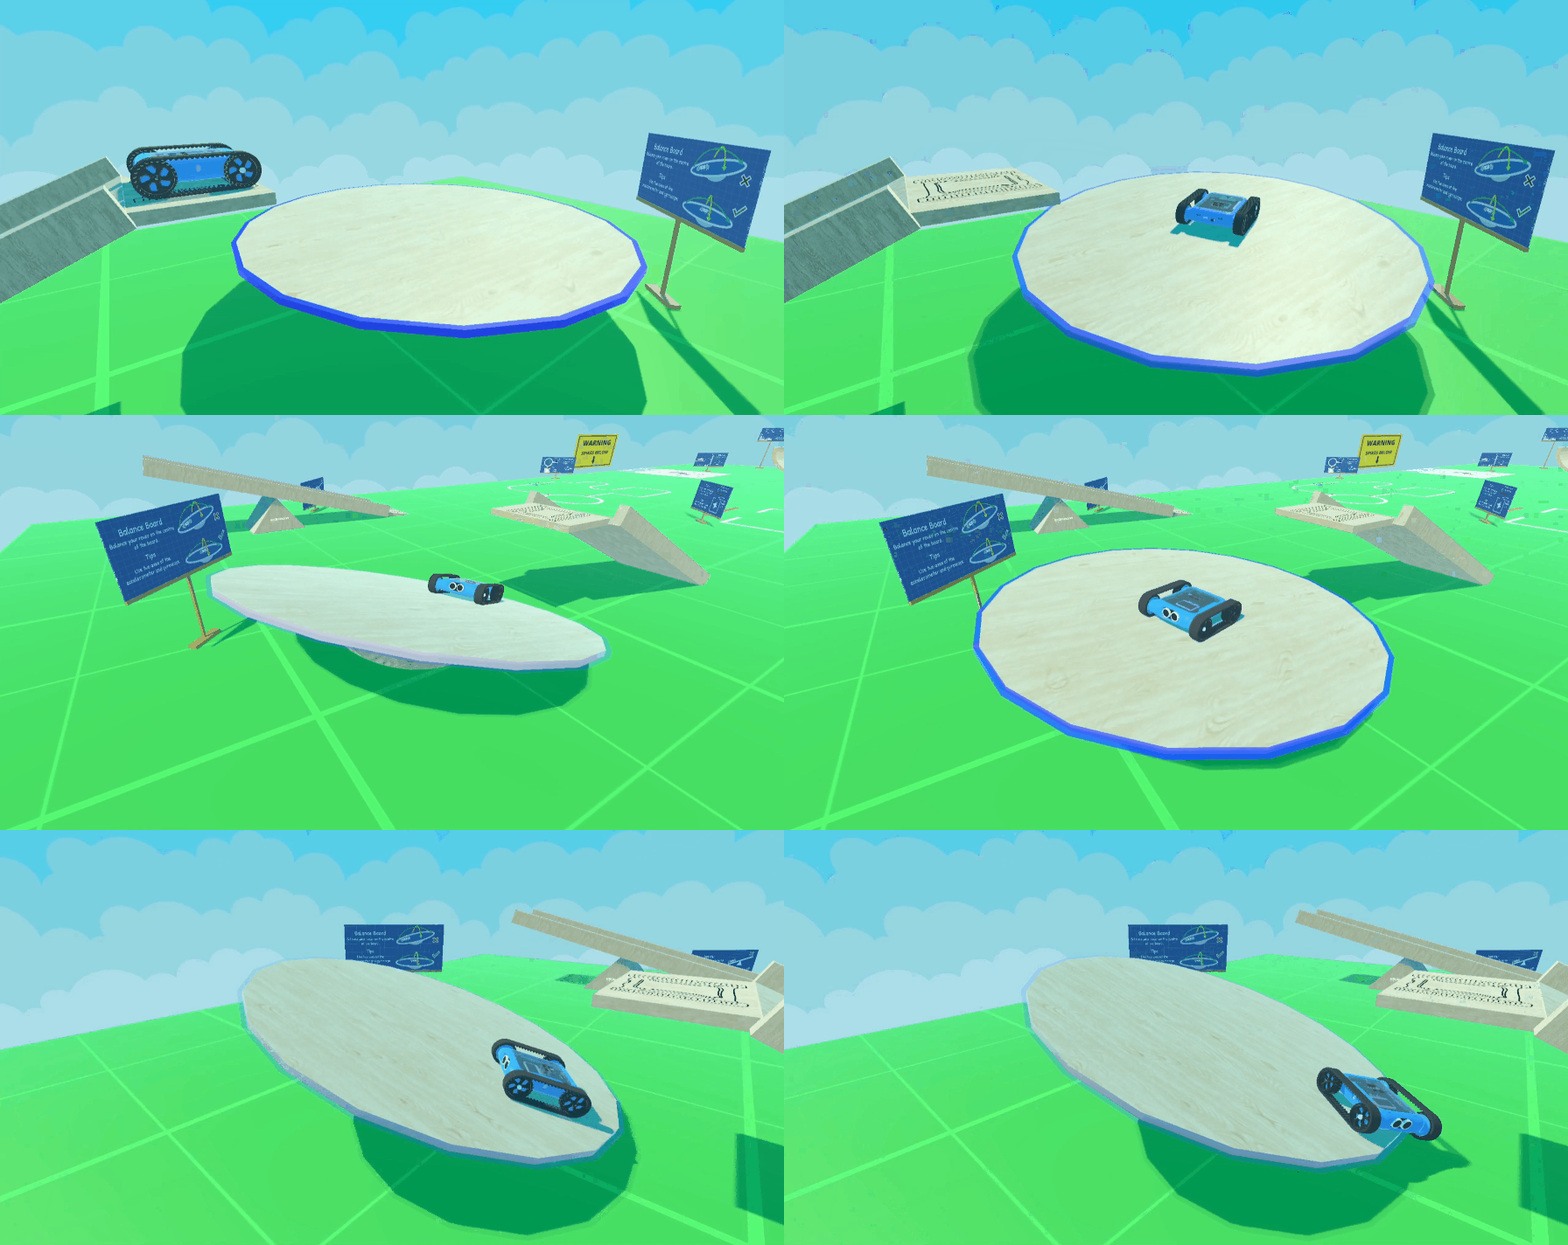
The Spike Drop and Free Space are great first activities. If you’re starting to become familiar with programming the Rover, try the Prison Escape or Line Following activity. Once you’re feeling more confident, the Maze or Sumo activities provide a stronger challenge.
Have To Login To Access an Activity?
Like we mentioned before, some of the Robot Simulator activities require a licence. The Robot Simulator licence is attached to your Micromelon account. This is the same one you use to log into the Code Editor.
How To Log Into The Simulator
Press the LOGIN button.
You can either enter your Micromelon username and password in the form, or you can login automatically from the Code Editor you have already logged in to. To login from the Code Editor, enter the Bot ID of 9000 and click ‘GO!’.
Here’s a demonstration of how to log into the simulator by connecting from the Code Editor.
Simulator View
Code Editor View
Doing an Activity
Selecting an Activity
Click on the activity you want to try. You will see all the details for the activity appear on the right. Some of the activities such as Sumo and Maze have customisation options.
For this post, we’re going to pick the Spike Drop activity. Let’s press the PLAY button.
Need To Return To The Menu?
If you need to return to the main menu to pick a different activity, you can press the MENU button in the top right corner or the CHOOSE EXERCISE button from the menu.
Completing The Activity
When you select the activity, you will see your simulator Rover appear at the starting point for this activity. This is the Rover you will program to complete the activity.
For the Spike Drop activity, we can see the Rover starts in the no parking zone.
Accessing Instructions and Tips
If you’re not sure what you’re doing, you can open the activity help dialog by selecting HELP in the menu.
Running Code On The Simulator Rover
So for this activity we know we currently are in the no parking zone, and staying here is bad. We need to write code to drive our Rover forward, and avoid falling into the spike pit that’s right next to the parking zone (not a very safe design if you ask me). Let’s write some code to solve this situation. Our simulated Rover works exactly the same as a real Rover, so we program it in the same way.
How To Run Code From The Code Editor
If you’re not already connected to the simulated Rover, enter 9000 into the bot ID input in the Code Editor.
Write your code.
Press the play button on the Code Editor.
Once you press Run Code, the simulated Rover will execute the code. You can also run and stop your code from the simulator’s Rover control panel in the top right of the screen. The below animation shows using the blocks editor to write and execute an example solution to the activity.
Robot Simulator View
Code Editor View
Reset Your Rover Back To The Starting Point
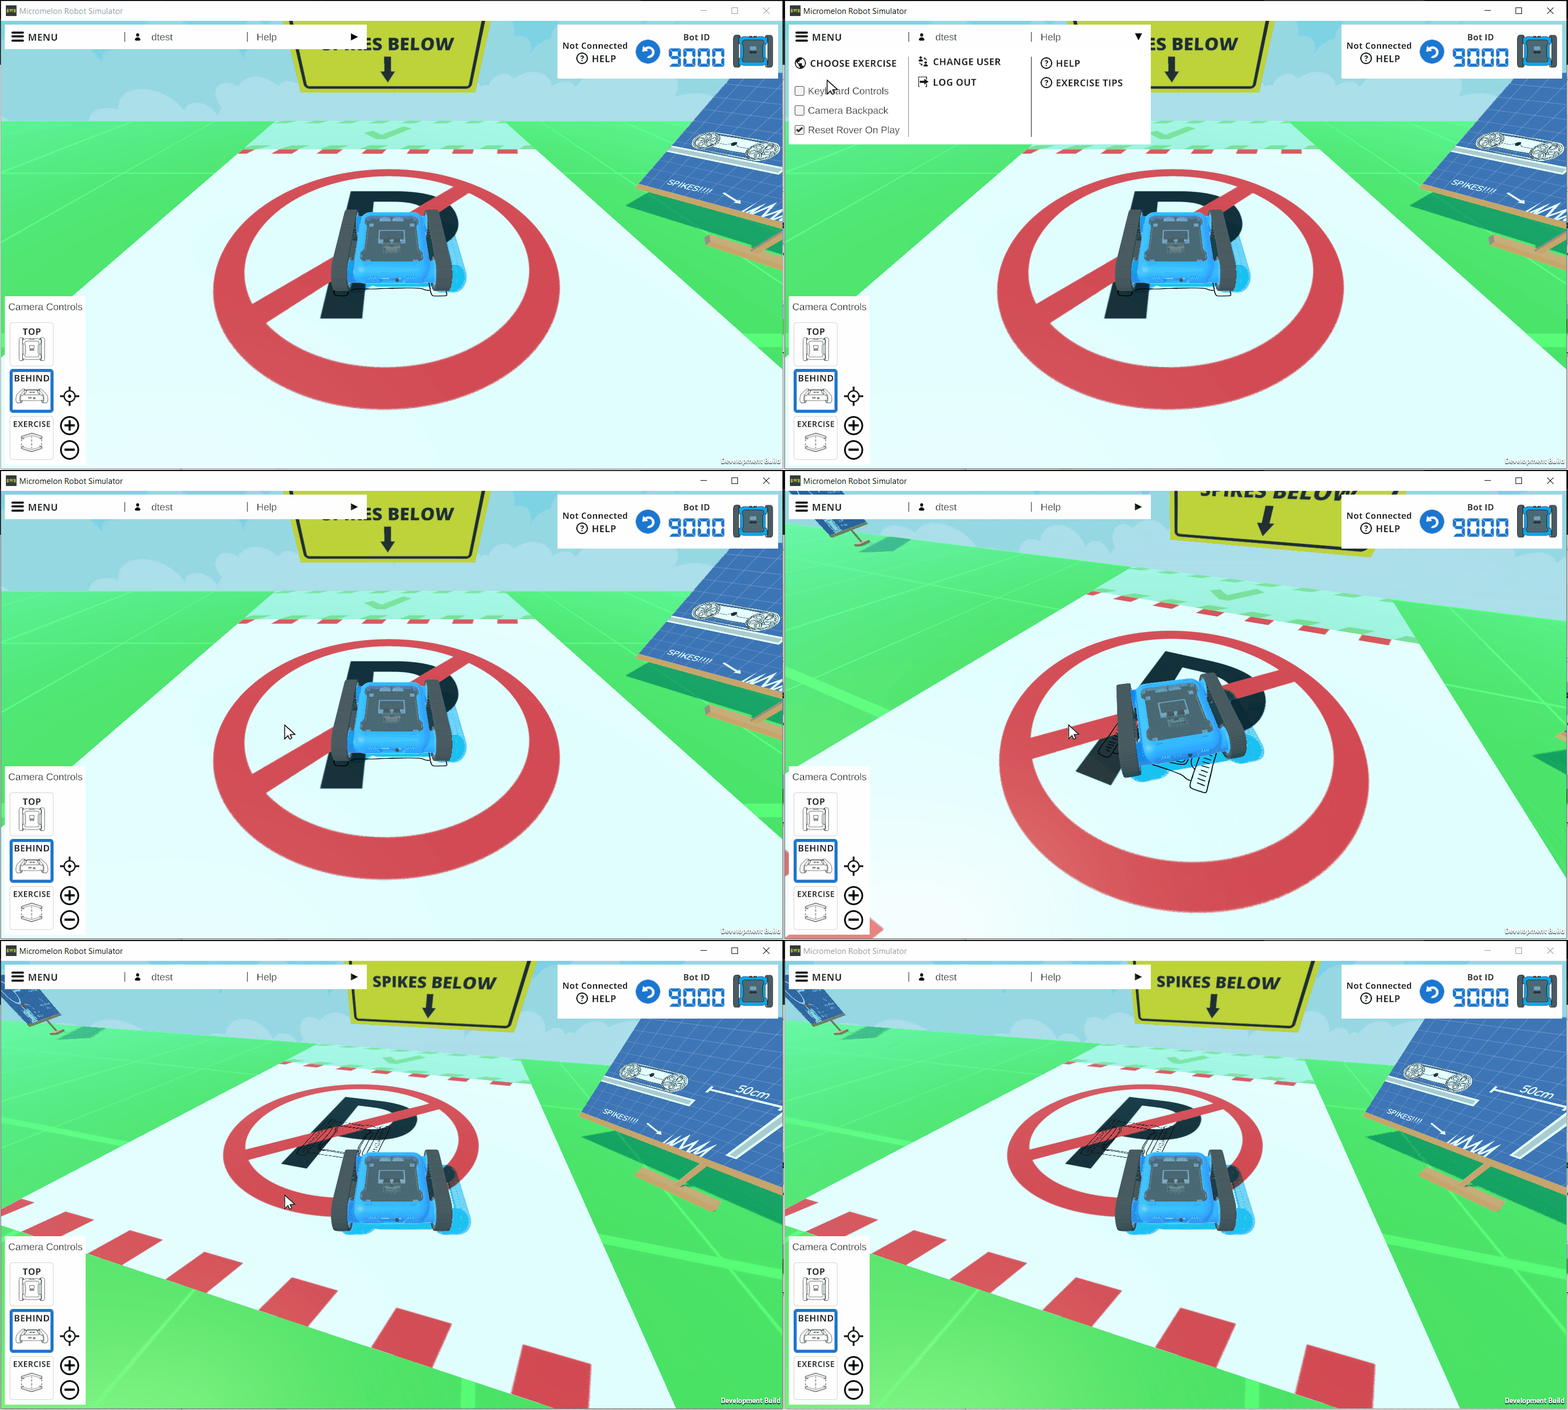
By default, whenever you run code on the Rover it will be sent back to the starting point of the activity so that you don’t need to manually reset each time. You can enable and disable this behaviour from the menu.
Manually Resetting The Rover
If you want to reset your Rover to the starting point at any time, you can press the reset button on the simulator rover control panel in the top right.
Changing The Camera Angle
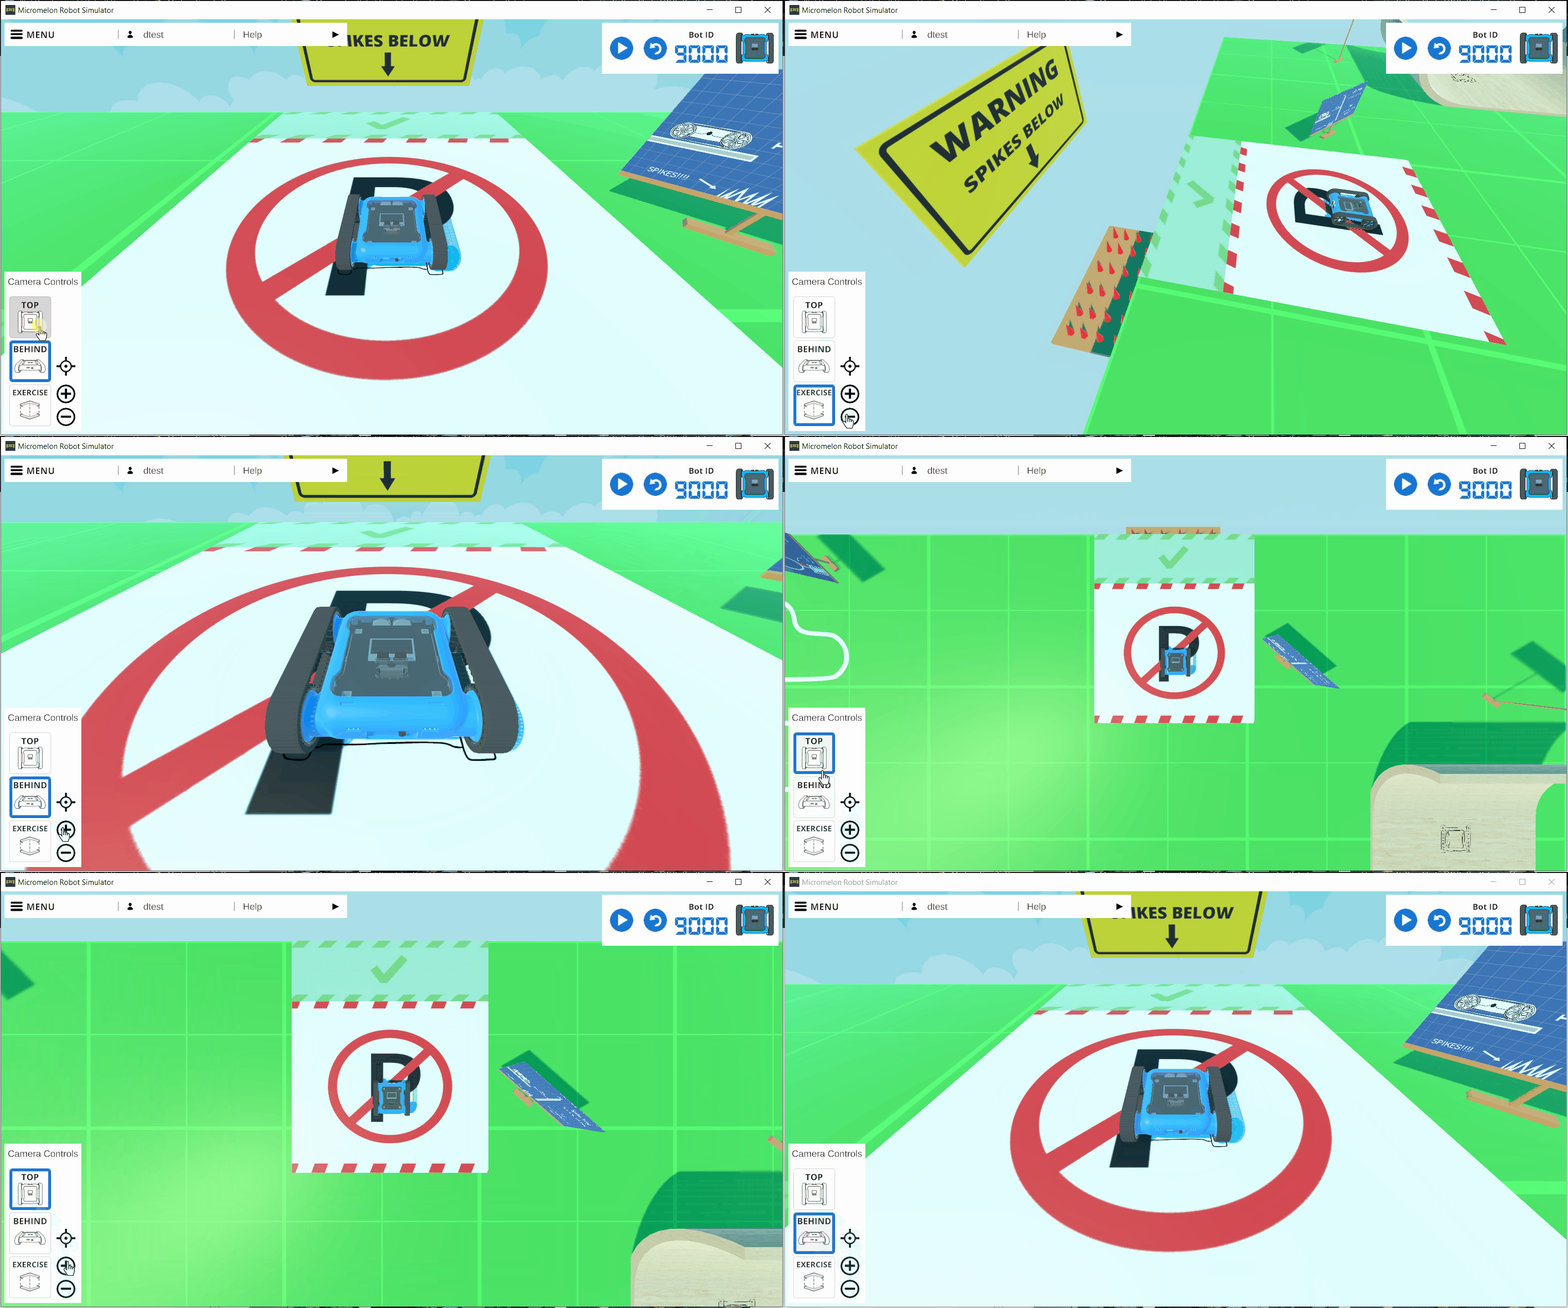
If you would like you can change the camera angle to get a different view of the activity, use the camera controls in the bottom left.
Using Keyboard Controls & Sensor View
Enabling Keyboard Controls
Simulator Rovers can be controlled using the keyboard arrows. From the menu, click the ‘Enable Keyboard Controls’ toggle to enable this. You can use the keyboard arrow keys to move the Rover.
Using Sensor View With The Simulator Rover
Just like the normal Rover you can also use the sensor view from the Code Editor to see the sensor values of the simulator Rover. This can be useful to leave open while using keyboard controls in the simulator. Watching what the sensors see at different points in the activity can help you to write your solutions. Note that the battery sensor readings are not relevant in the simulator.
Next Steps
There are many activities to try in the simulator and most of them have an associated guide that including steps towards an example solution. You can try progessively more difficult challenges in the simulator using the guides written for the real robots. Some of these guides are shown below. Good Luck!

