Program the Rover to follow a line. Use the colour sensors to detect where the line is and determine how the Rover should move and turn to stay on it.
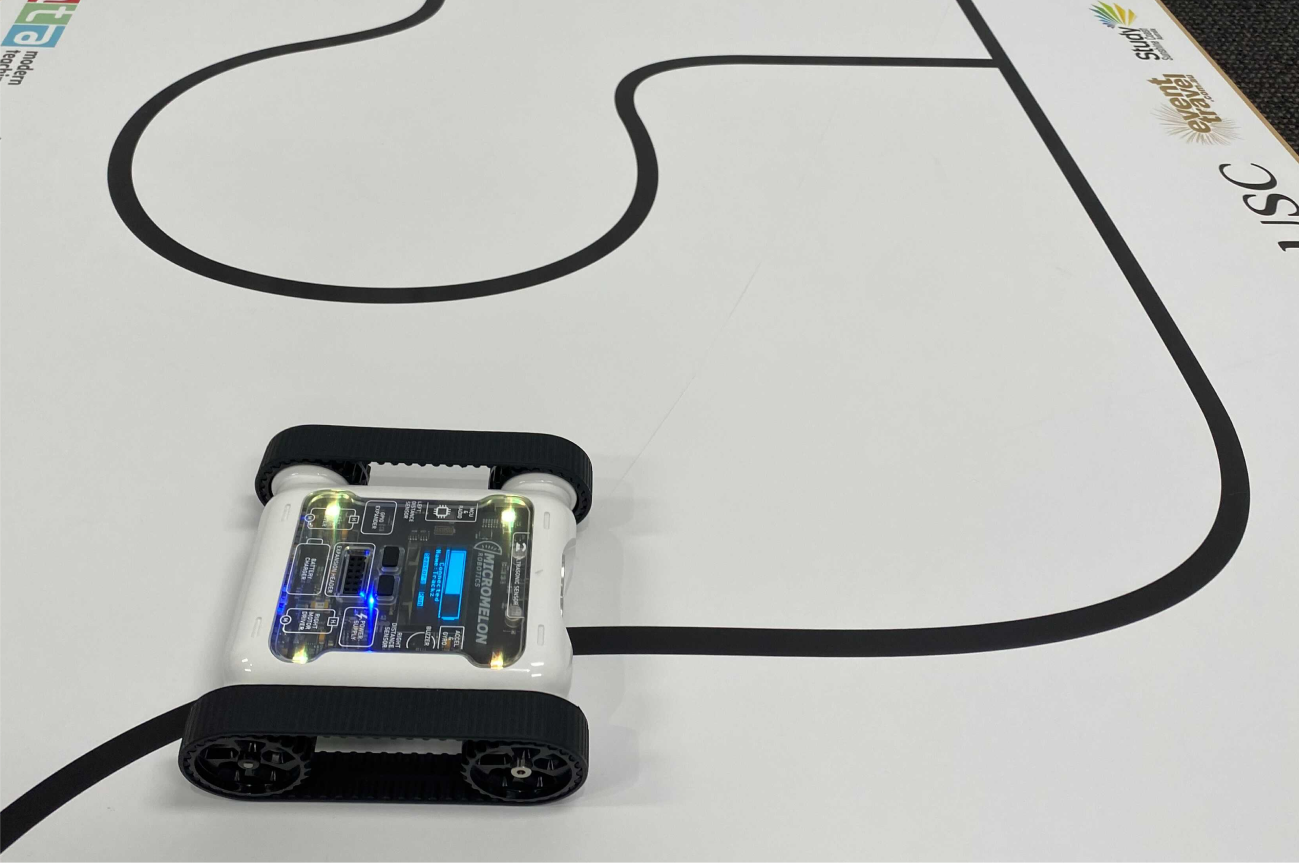
Rover following a line on a marked track
Setup
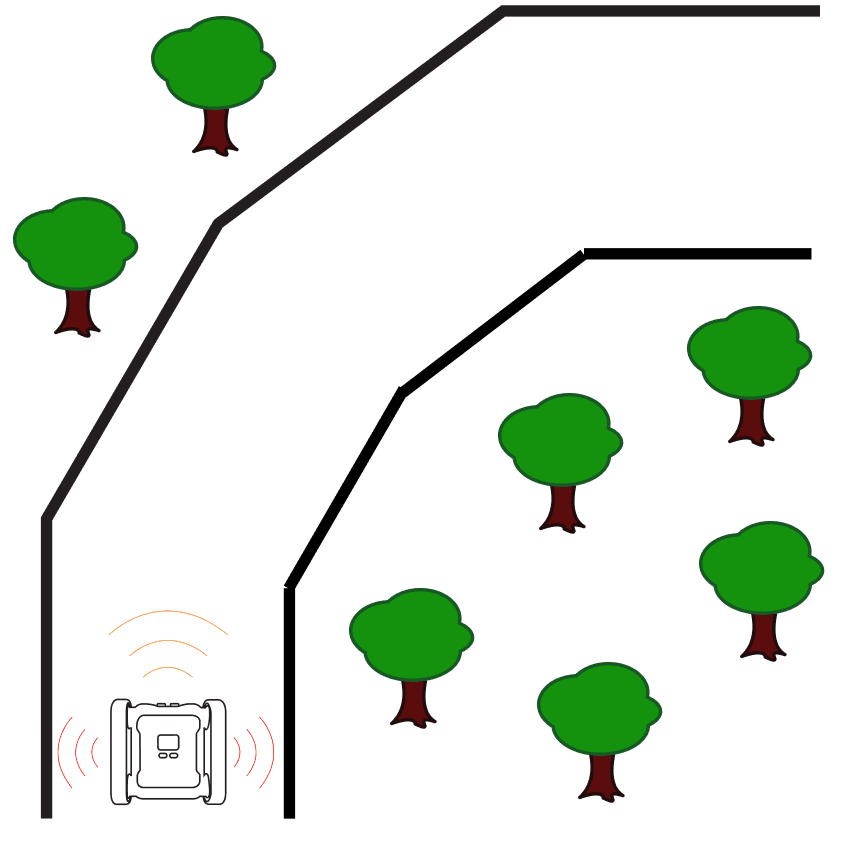
When setting up, ensure the line to be followed has clear contrast from the surface it’s on and is thick enough for the colour sensors to detect. We recommend a thickness of 1–2 cm: anything less will be difficult for the Rovers. When designing a track, use rounded corners for turns; the sharper the turn, the harder it will be to stay on the line. You can also incorporate additional challenges, like having the Rover detect and go around objects on the track, or detecting different coloured lines that indicate speed changes or turning directions at intersections.
Our Approach
Stage 1: Loop with Branching
Add a While True loop with an IF/ELSE statement so you can continuously ask the Rover questions about its environment.
Stage 2: Pick a Brightness Threshold
Add the brightness value you’re comparing to (in this case, 210). To find the right value, open Sensor View in the Code Editor, press the ROVER button in the top bar. The colour sensor values appear in the top-right table.
Stage 3: Steer Based on the Sensor
Pick a brightness value between your line and the colour next to your line, e.g. if your sensor reads 130 for black and 230 for white, 180 is a good starting point. Then get the Rover to drive gradually left or right using the Set Motor Speeds block.
Tip: Test with different numbers! In our example, a speed difference of 8 for the motors worked well, but the right value for your Rover may vary. You could also experiment with RGB values to see if that gives a better result.
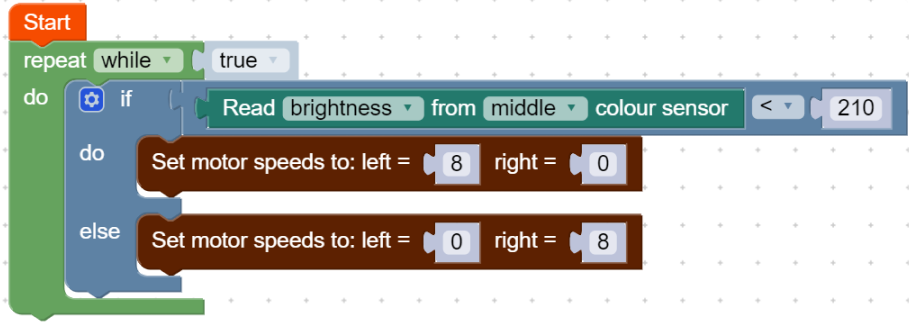
Example code, line-following with brightness threshold
Once your Rover can follow a basic line, try adding intersections, tighter curves, or speed changes to push your algorithm further.