Like any machine, 3D printers wear out over long periods of use and require maintenance. Printers should be consistently maintained to prevent degradation in print quality and reduce damage to the printer. This guide covers the main focus points for caring for a 3D printer.
Note: This guide focuses on Creality FDM printers, but the concepts apply to all FDM 3D printers.
Belts
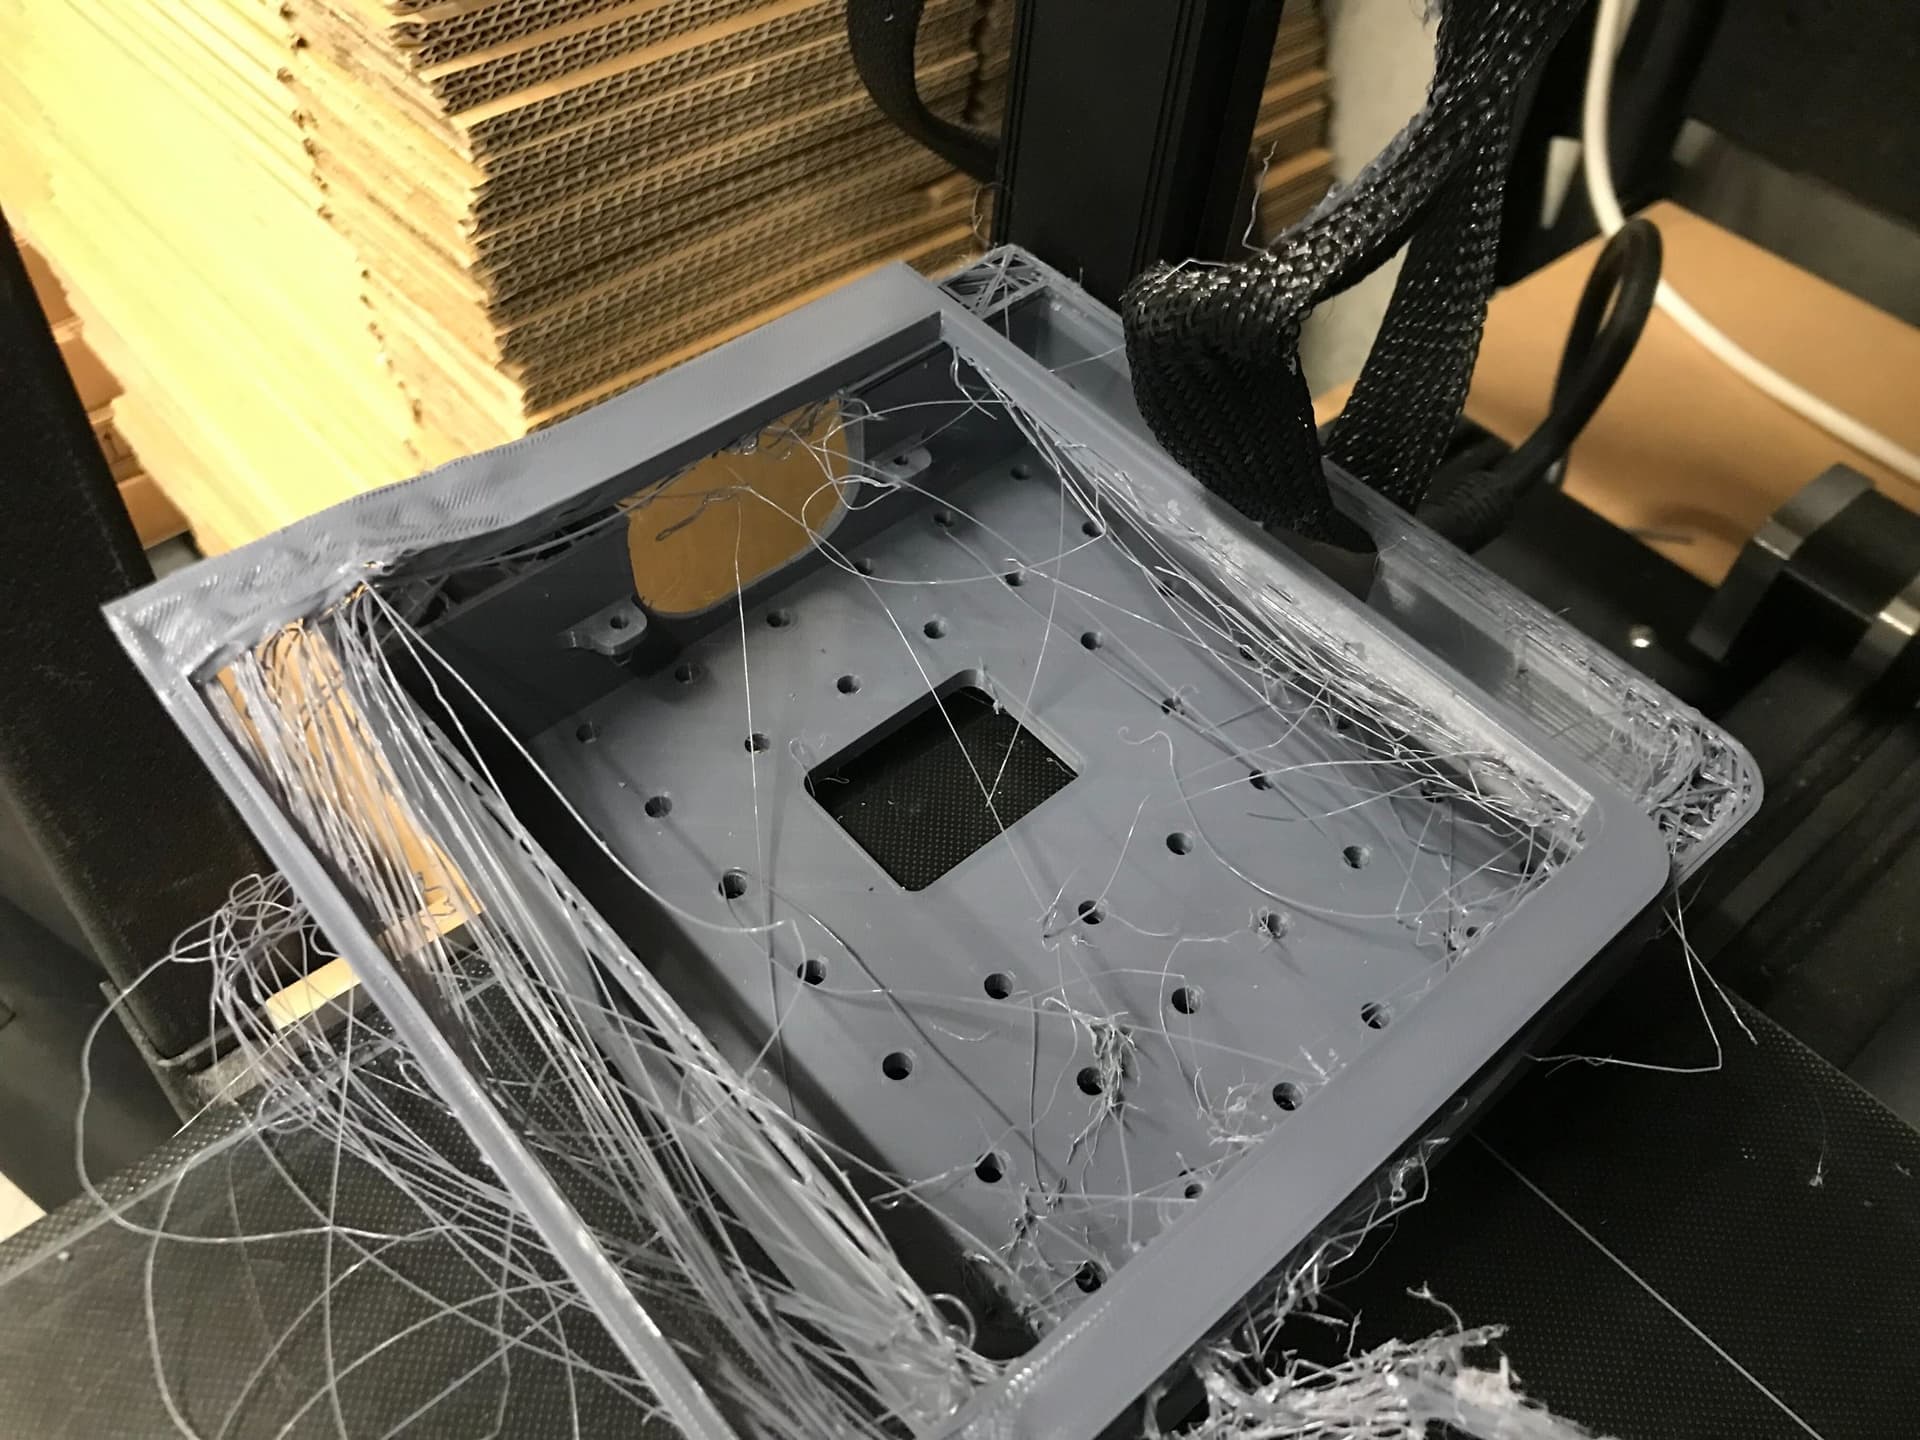
Belts are usually used on 3D printers to move two or more of the axes. They must always be kept well-tensioned, neglecting belt tension leads to several print-quality issues, including deformed dimensions, surface defects, and layer shifting.
Surface distortion from loose belts (Credit: pattertj on Reddit, Fordari on Reddit)
Generally, on FDM printers, each belt has one end looped around a stepper motor and the other looped around a free-running pulley. Each system has its own way of tensioning a belt, usually a clamp on the belt or an adjustable pulley mount. To tension a belt, increase the distance between the motor and the pulley. For example, on Ender 3D printers, the screws on the pulley mount can be loosened and pulled to the correct tension before tightening.
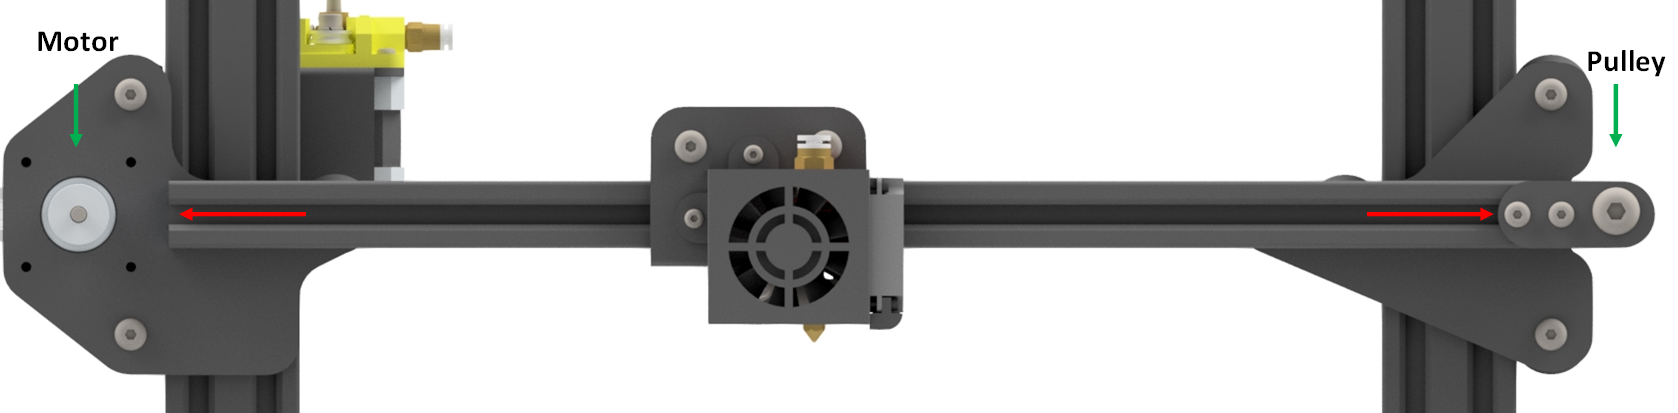
Tensioning the X-axis belt on an Ender 3
The belt needs to be tight enough so it doesn’t wobble when the axis moves, but not so tight that it’s hard to move the axis.
Eccentric Nuts
Any printer that uses V-slot extrusion slides will have eccentric nuts attached to the gantry. Loose eccentric nuts cause similar issues to loose belts. If the print head or build plate is wobbling, the eccentric nuts may need tightening.
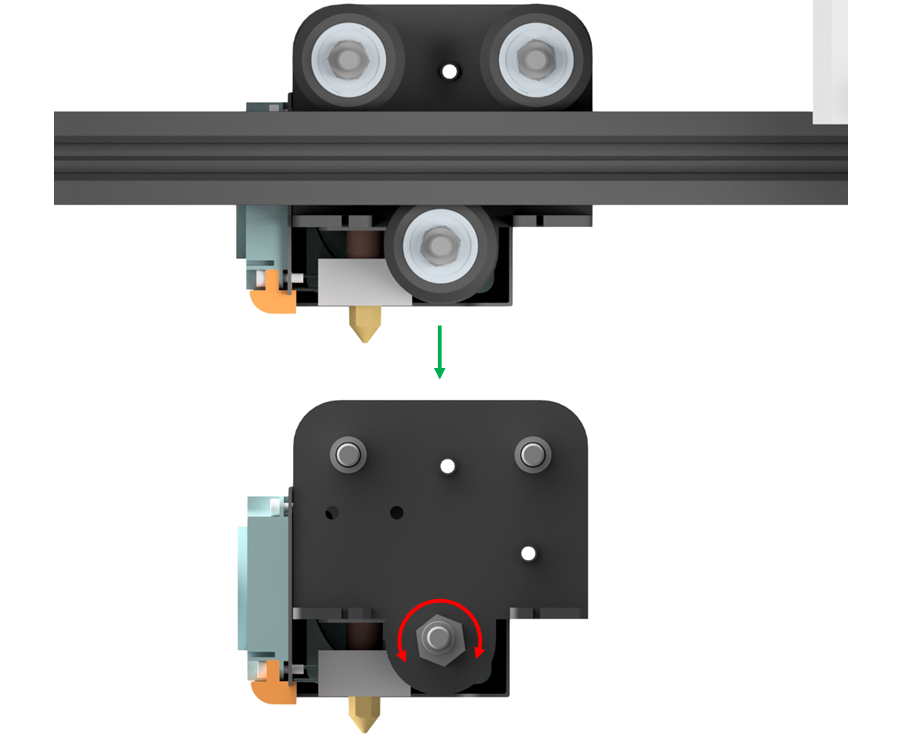
Tightening an eccentric nut on the gantry
An eccentric nut is just a hexagonal nut with an offset centre. Twisting it with a spanner (the gantry doesn’t have to be disassembled) reduces the distance between the wheels and gives the gantry a tighter hold on the extrusion. Make sure it’s not so tight that the gantry is hard to move.
Levelling
Many printers eventually have prints unsticking from the build plate. The frequency of this can be significantly reduced by correctly levelling the build plate, get the nozzle to the perfect height from the build plate across the entire surface.
First, home the 3D printer, then disable the steppers (or turn the printer off). A great way to start levelling is to use a business card between the nozzle and the bed and tighten the nuts under the bed until you feel slight resistance when the card is moved. Repeat this twice. Then fine-tune by running a calibration print (examples below).
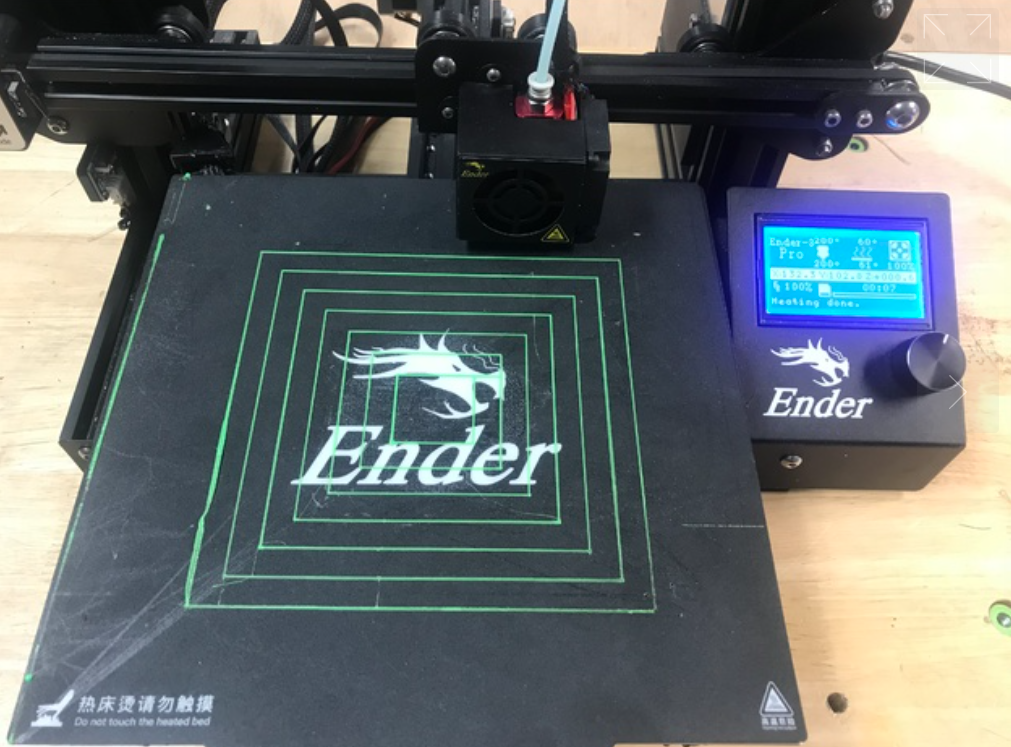
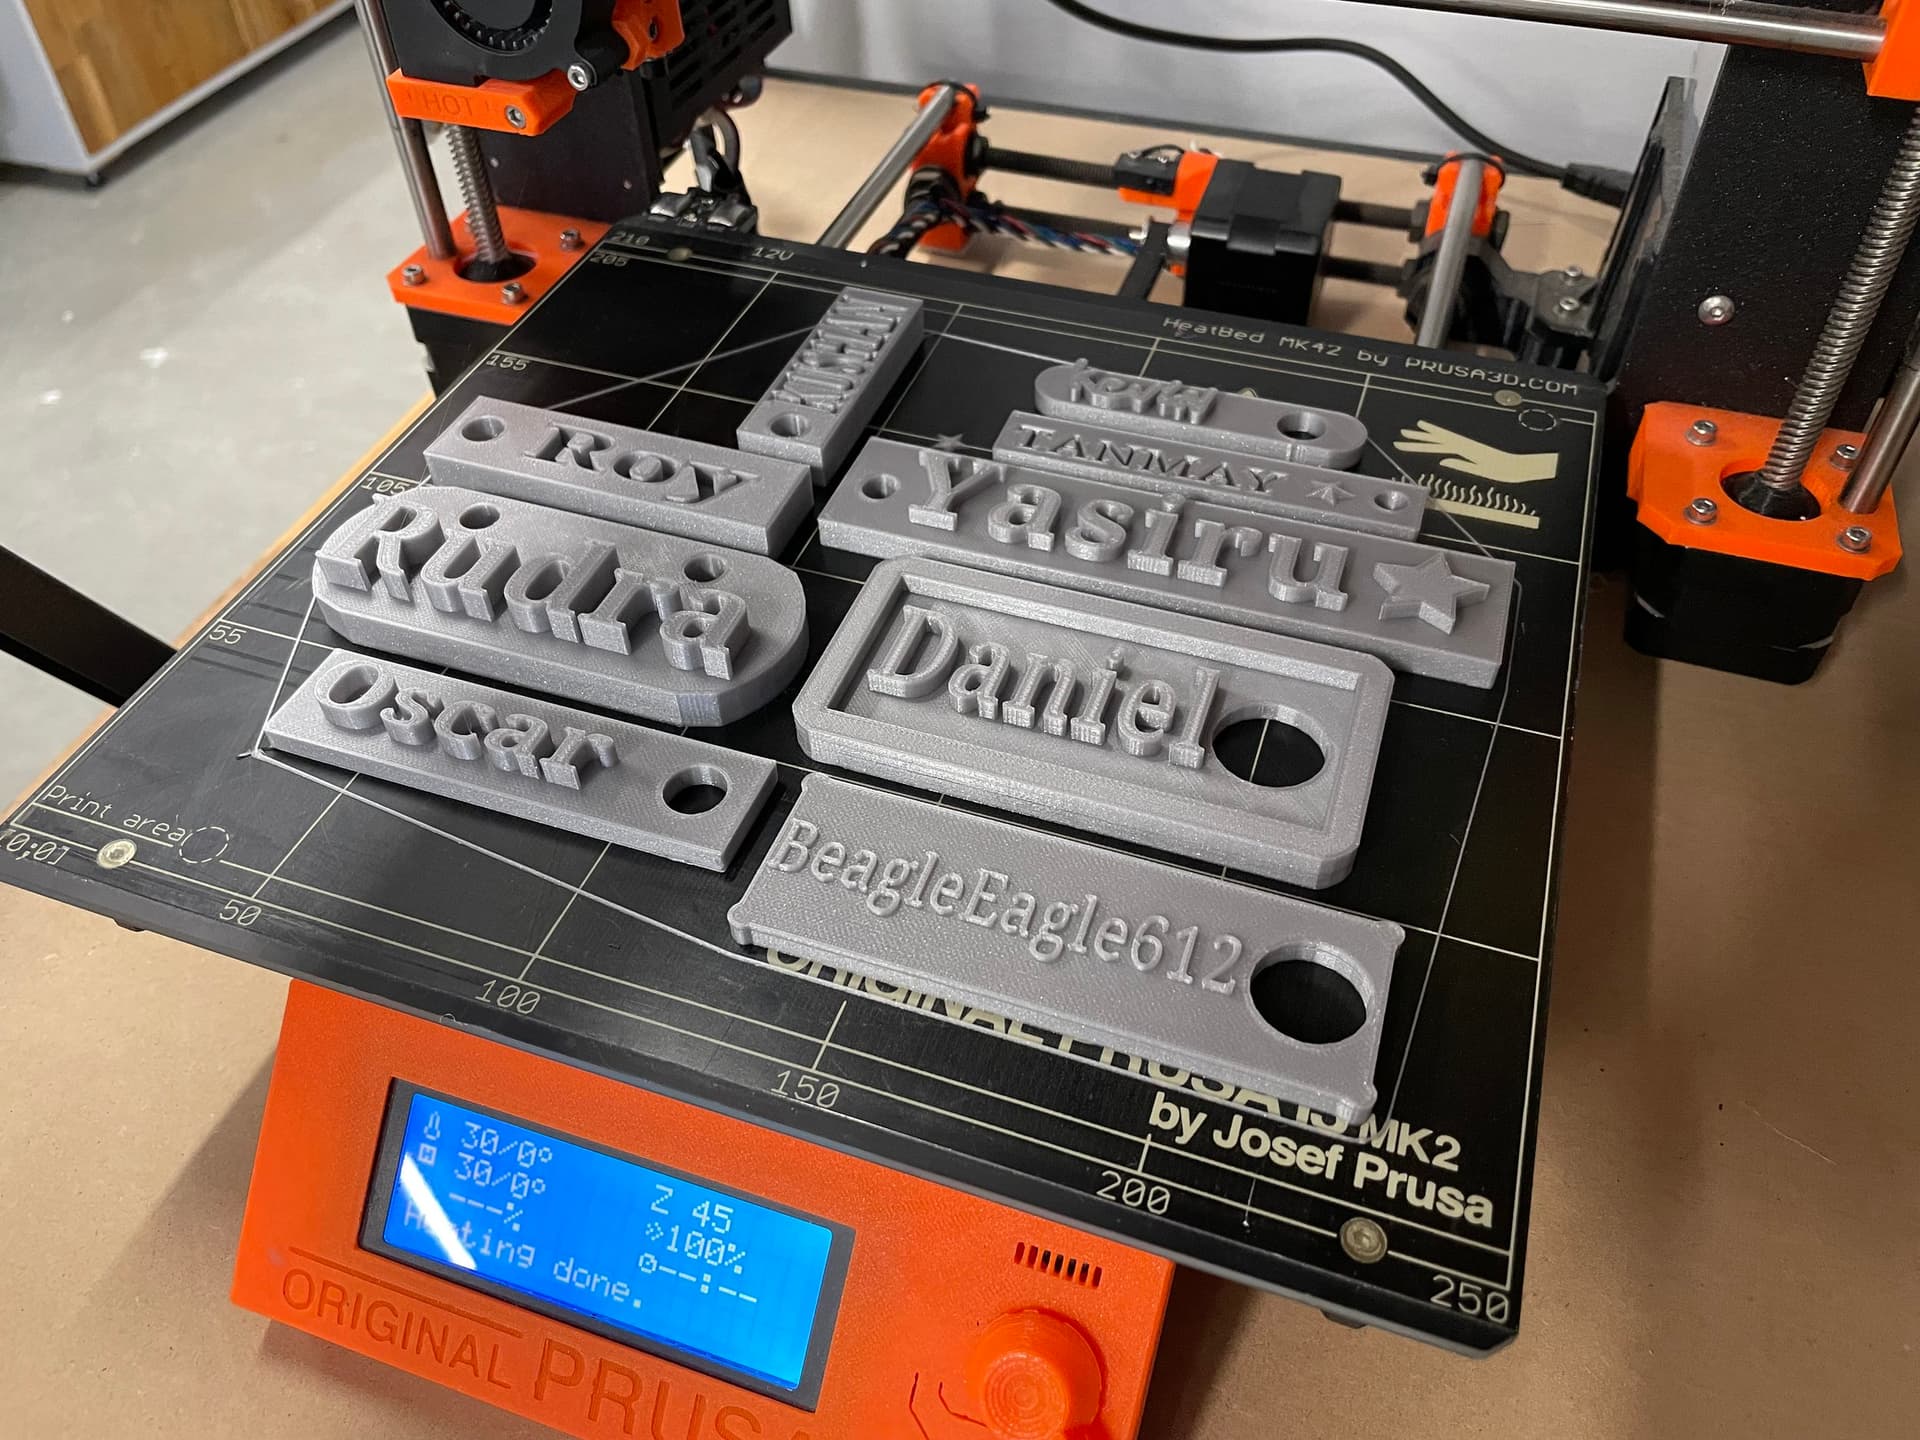
Ender 3 Bed Level by Elproducts
Print these files (scaling for your printer) and compare results. It’s helpful to make slight adjustments to the nuts on the bed during the print.
Nozzles
A used 3D printer nozzle
Nozzles eventually wear out from the constant flow of filament. The time this takes varies depending on which filaments are used. Signs of a worn nozzle:
- Rough surfaces on prints.
- Not enough filament extruding.
- The nozzle becomes clogged.
- The nozzle opening is too wide.
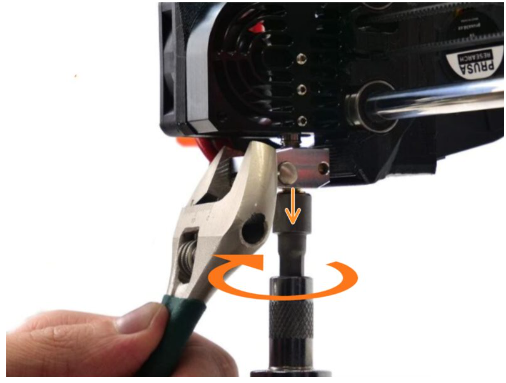
Replacing a 3D printer nozzle (Credit: Prusa Research)
To change a nozzle:
- Heat up the printer nozzle and remove the filament.
- Carefully unscrew the existing nozzle (it will be hot, be careful). Hold the heat block with pliers or a spanner while you do this.
- Screw in the new nozzle while the printer is still hot. Don’t overtighten, sometimes it helps to tighten fully, then unscrew about a quarter-turn.
- Re-level the build plate.
Storing Filament
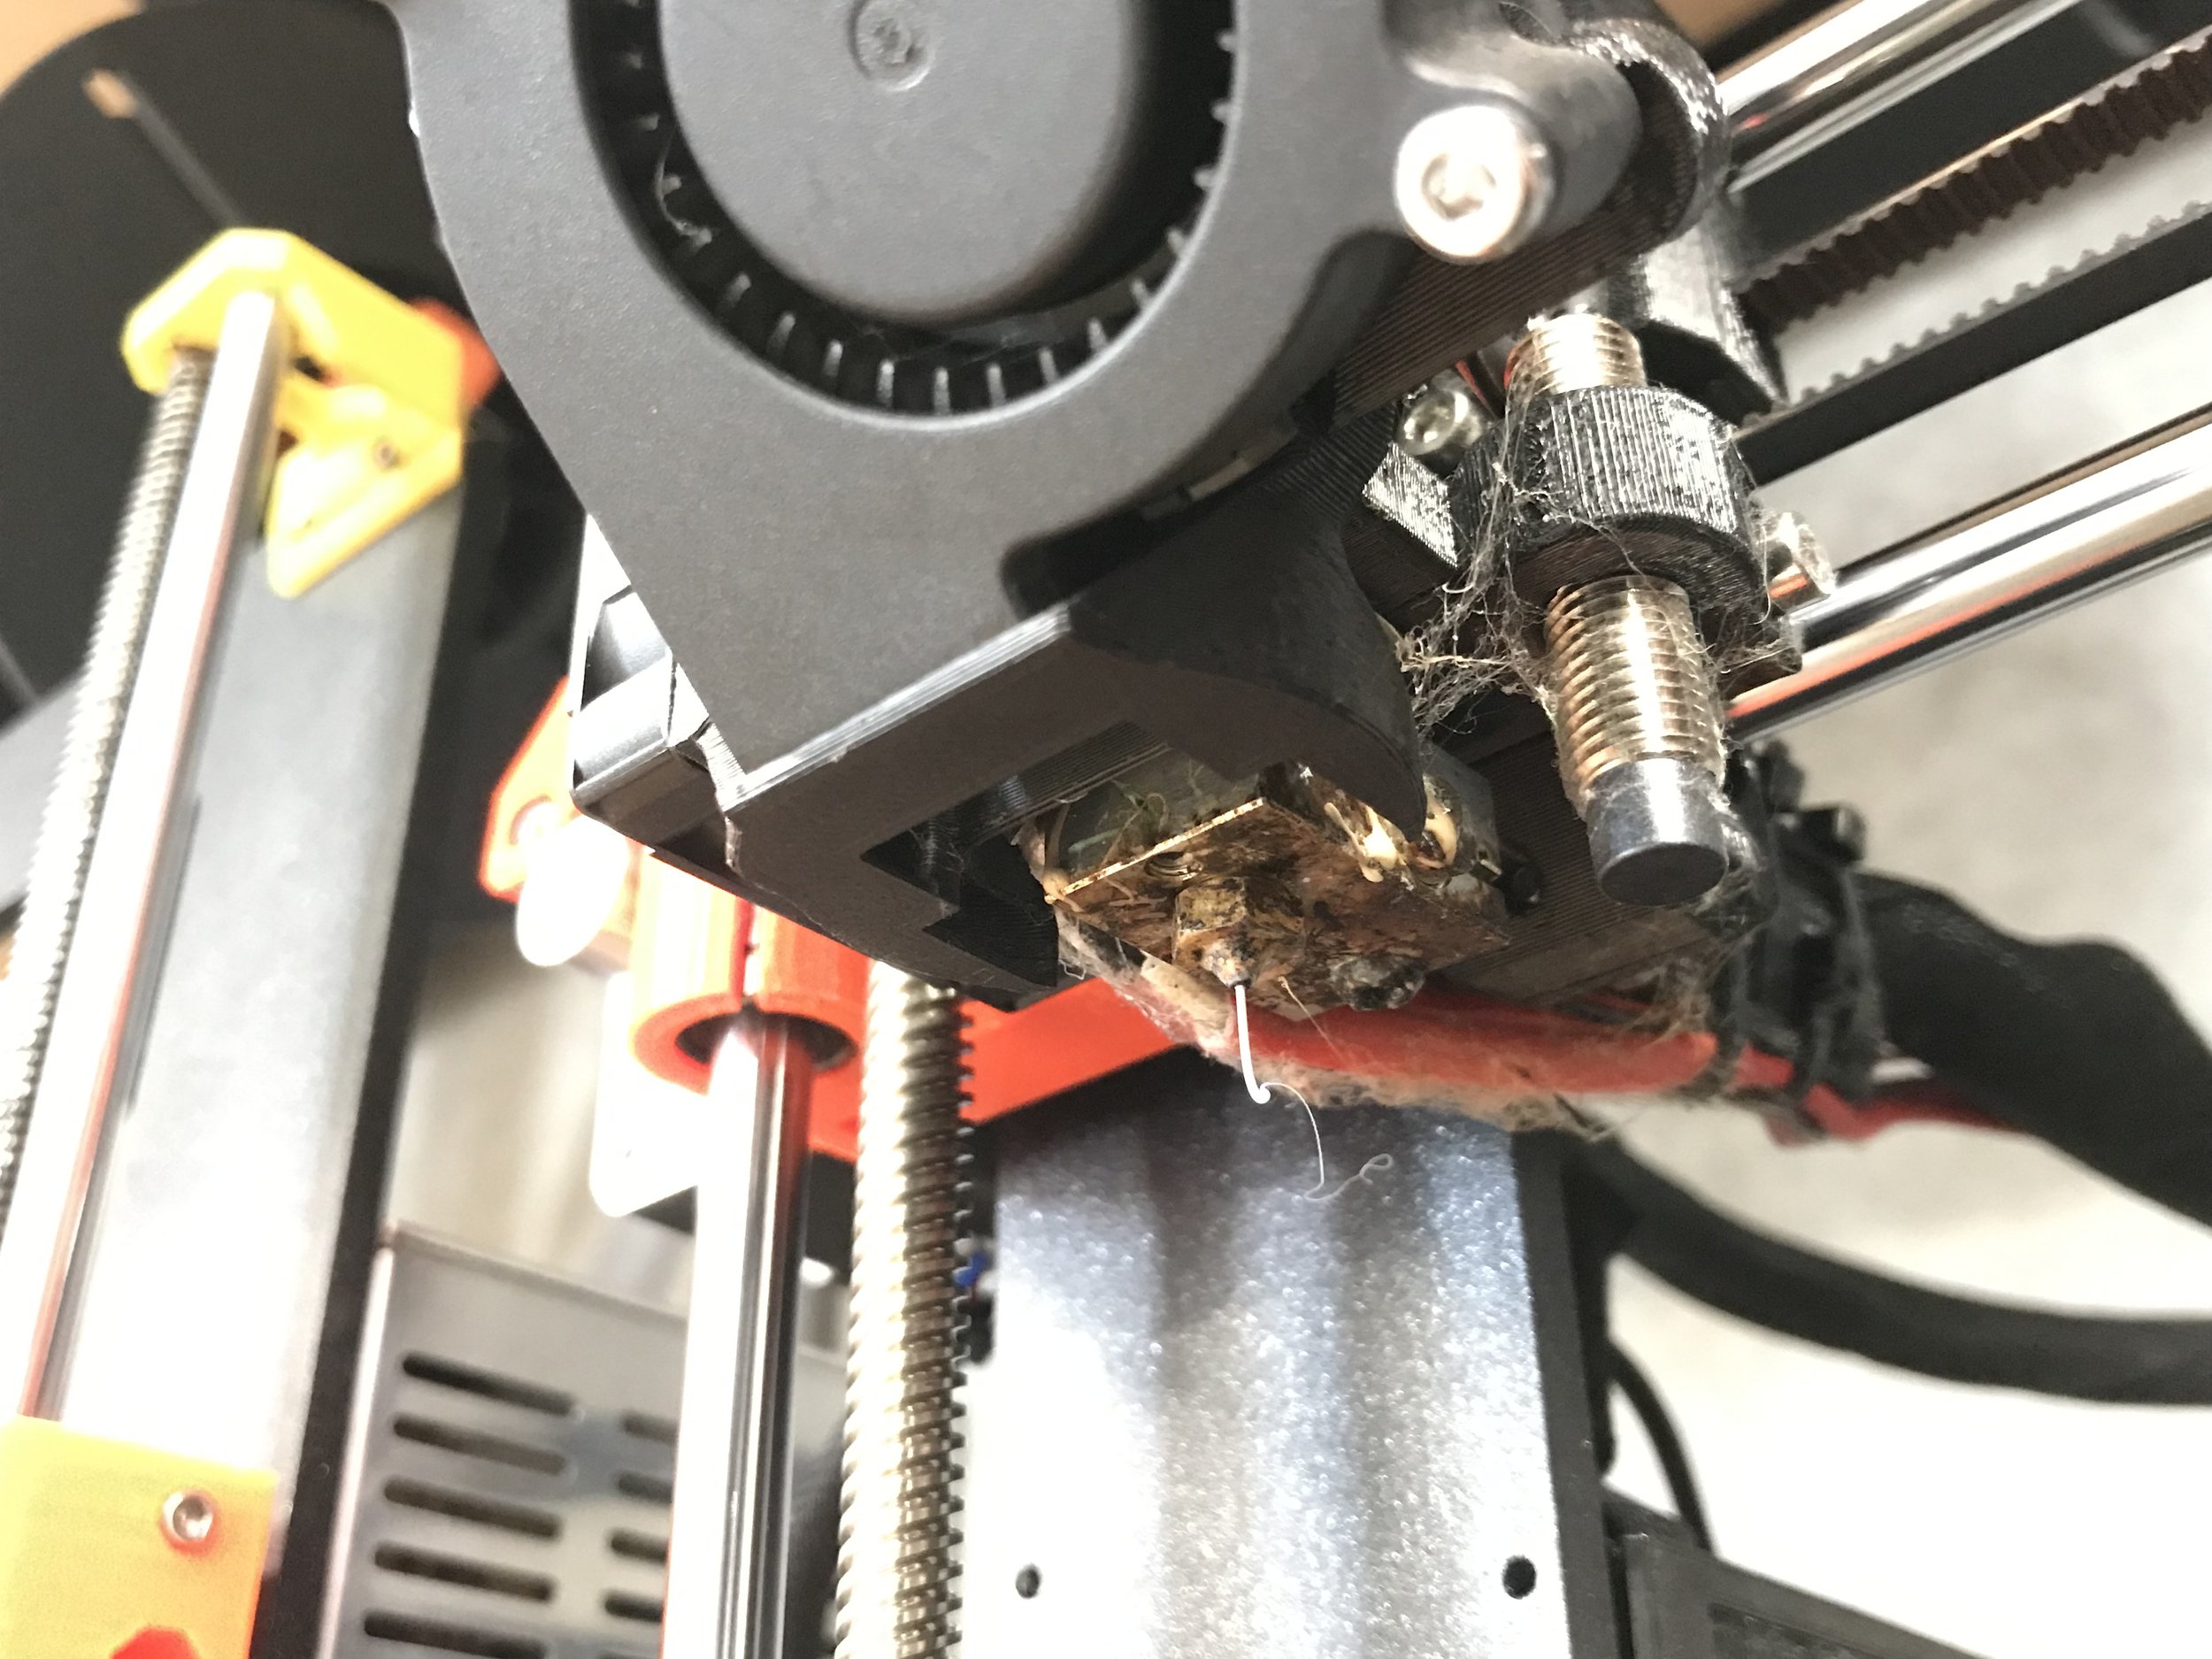
While it may not seem that filament requires maintenance, proper measures must be taken to care for rolls when not in use. Filament absorbs moisture and collects dust, this can significantly reduce the quality and strength of prints and cause the nozzle to clog more frequently.
A simple and effective way to store filament is to keep the rolls in an airtight container filled with reusable desiccant. For a more advanced system, you can build a filament dry-box. There are many simple designs out there, such as the DIY Filament Dry Box guide on All3D.
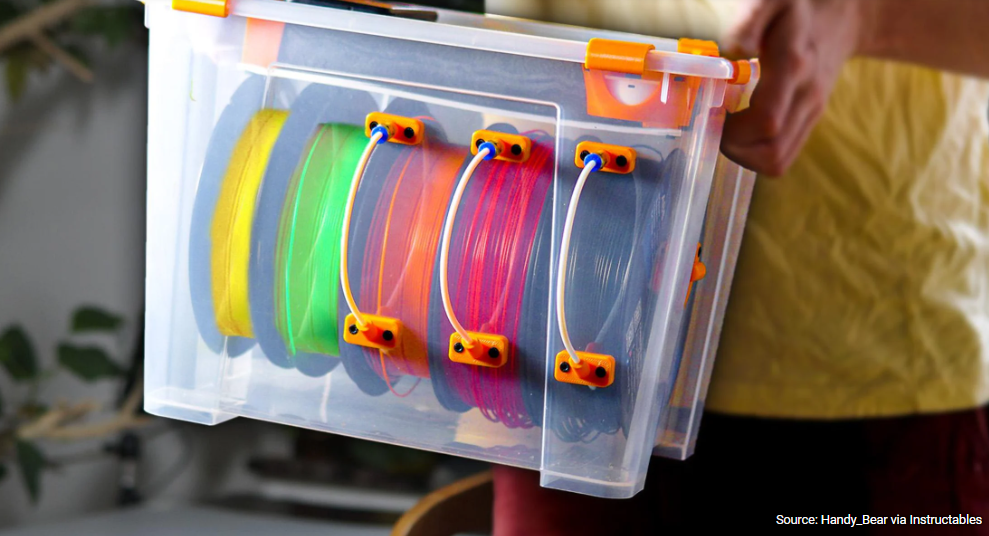
A DIY filament dry-box